The other night, we were at the Dubai International Art Centre (DIAC), a lovely villa just behind the Mercato Mall area, learning how to make our own silver jewelery. You see, some clever Japanese chaps invented the Art Clay Silver which makes it easy to design with silver – you don't need to make molds and melt the metal anymore, you just have to flatten and shape them as you want.
Lisle, our teacher, guided us through all the steps of making our first silver jewelery, patiently answering every question and doling out tips in case we ever take up the craft at home.
The medium
Silver Art Clay comes in this small plastic containers and basically looks like light gray clay. You have all these tools to help you create any piece you want. I chose to make a pair of earrings to match a silver ring I already have.
Here's how you can do it:
Take the pattern of your choice, better to mull over and finalize your design before you handle the clay because it may dry up on you. If you're using a mold or pattern, press the design on the clay, or if you're taking it by ear, then start creating/etching your design. In my case, I used my ring to create an impression on the rolled clay.
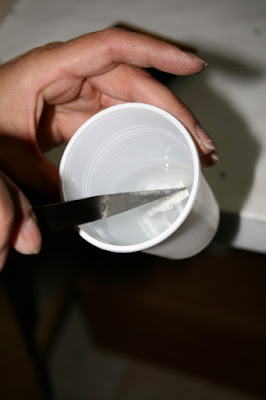
After the design has been impressed on the clay, cut the excess clay. Keep the excess material inside a plastic sheet to avoid drying. Keep every little bit, you can reuse them all. If you feel that your clay is drying as you're working on it, spray a little water to keep it malleable. Put olive oil on any instrument you will use – stamps, knifes, etc – to prevent the clay from sticking to the instrument.
Take a piece of sandpaper and polish the design and the edges. You can use wet ones to wipe off the back.
Drill the hole for your hooks.
Put inside the kiln. After 10 or 15 minutes it will be ready.
Remove the jewelery from the kiln carefully (remember it's very hot!). With a pair of tweezers, take a piece and dunk it in cold water.
This will cool it off and strengthen the metal at the same time. At this point it will be white and will look nothing like the shiny metal we know and love.
When it's cool enough to touch, dry it off and start polishing.
Burnish the piece to make it shine, add the hooks and voila – a new pair of 99.9 percent silver earrings.
Cool medium
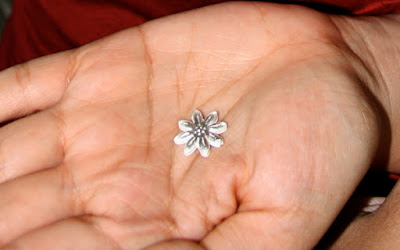
What makes this all the more cooler is, there's no breaking it. When a petal broke after it was first dried, it was glued back with Art Clay Silver paste. A more diluted form that acts like a glue.
Instead of putting it in the kiln, this piece was fired with a hand-held torch, another option for firing it. And the piece looked good as new.
After three hours, we had brand new silver jewelery that gave us immense satisfaction.
It looks way easier than the real thing and I bet, we need a lot more practice to really master it. The medium is really exciting specially when you start considering the possibilities - it's endless!
Below are some samples shown to us by Lisle. You can view her creations at Wow Creations.
The class cost 175aed plus materials. The materials depend on what you will use (hooks, stones, etc) and on the weight of the Art Clay Silver.


1 comment:
Fun fun fun! ^_^ I wanna make my own din.. uwi ka ng materials hehe. Hmm.. I can see a silver jewelry shop named Orange Jar in the near future *_*
Post a Comment